By Lucille Zane
Extension Master Gardener Volunteer in Chatham County
There are many reasons to have a pond: perhaps for the aesthetic value of water, reflections, and plants; as a hobby for raising fish (probably colorful koi), or for more practical, functional reasons. Ours was for the latter. We had a serious drainage issue, or rather, a lack of drainage, that needed addressing.
A sloped lawn on the side of our house funneled water down a hill onto the driveway and then into the lower story of our home. After two flooding incidents, we took a hard look at the causes and possible solutions. Over 20 years, the ground had compacted, the driveway had developed a “hump” from repeated applications of stone, and the patio had created a nonporous surface that overwhelmed the existing drain. These factors combined to create the perfect storm, especially with our increasingly frequent severe rain events.
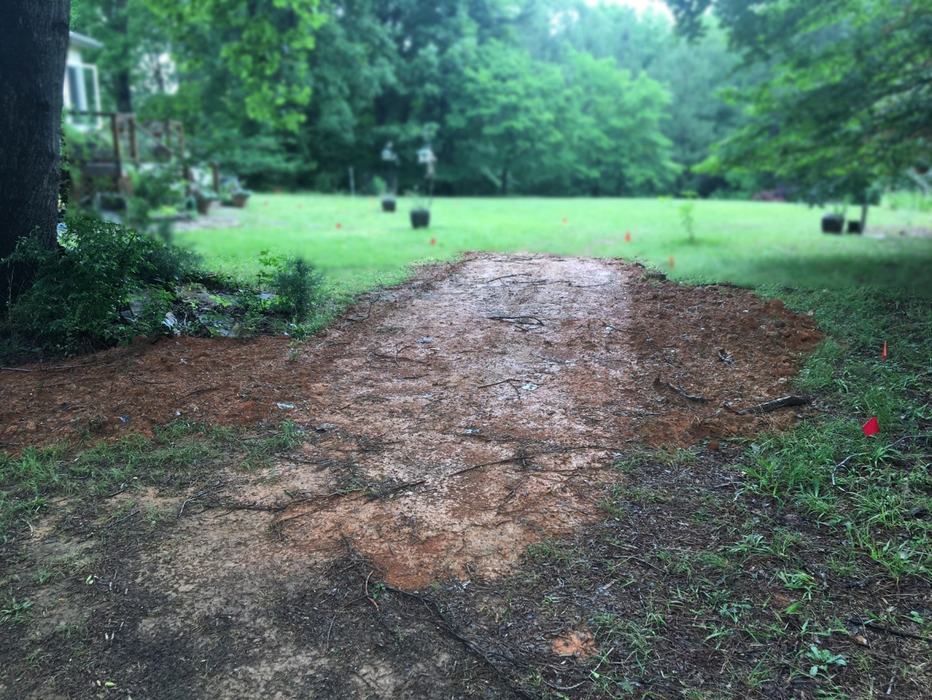
Our first step was to correct the pitch of the driveway. A contractor was hired to lower the drive by removing the “hill.” Then we began with small interventions to gauge their effectiveness before moving to more drastic measures.
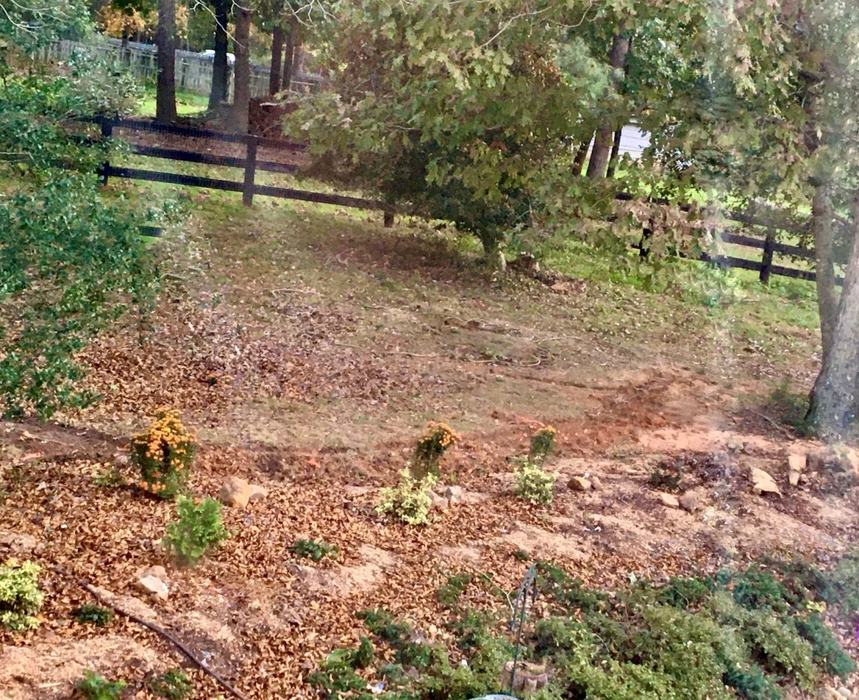
Initially, we planted more vegetation at the top of the hill above the driveway to help absorb runoff. To the existing groundcover of cedars and dwarf azaleas, we added six shrubs including false holly, cotoneaster, and native species. This proved insufficient.
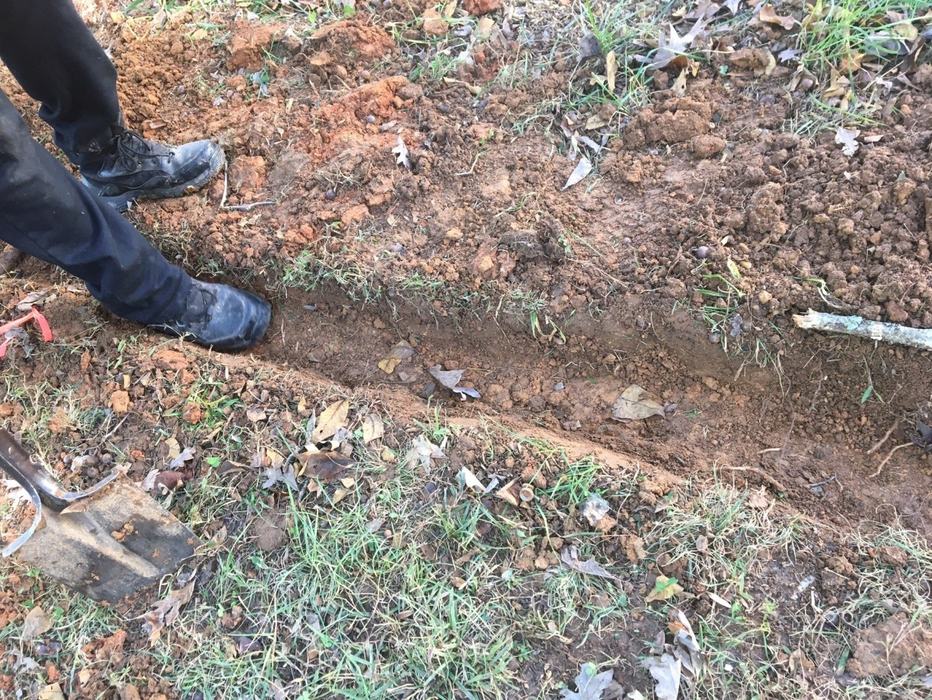
Next, we installed a dry riverbed, essentially a trench filled with stone. It was dug about 4 to 6 inches wide and 6 to 8 inches deep, running from the highest point down to where the driveway sloped away from the house. Weed fabric may be used if necessary for weed control. The trench must be deep and wide enough to handle the volume of rain from a heavy storm. One edge should be slightly raised on the side opposite the water flow, with gravel built up on that side as well. A level is needed to ensure a consistent downward slope, typically a 1 to 2 percent grade, or a 1-inch drop every 7 to 8 feet.
A French drain, by contrast, is a much deeper trench with a perforated pipe at the base that allows water to enter and be transported away. Our trench was filled with small stones and gravel, which helped a bit, but large pools of water still remained after heavy rains.
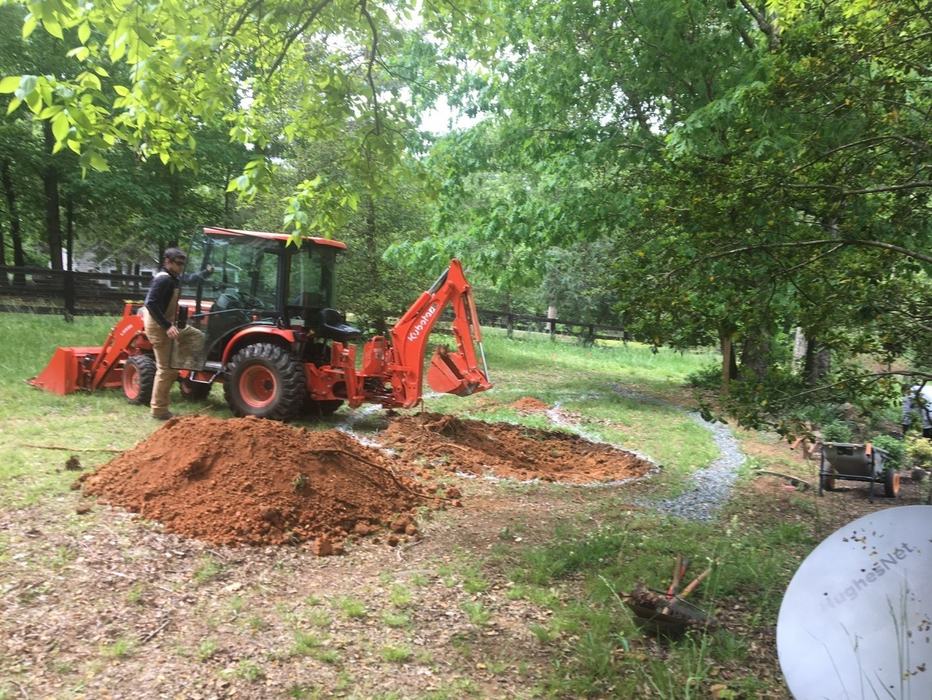
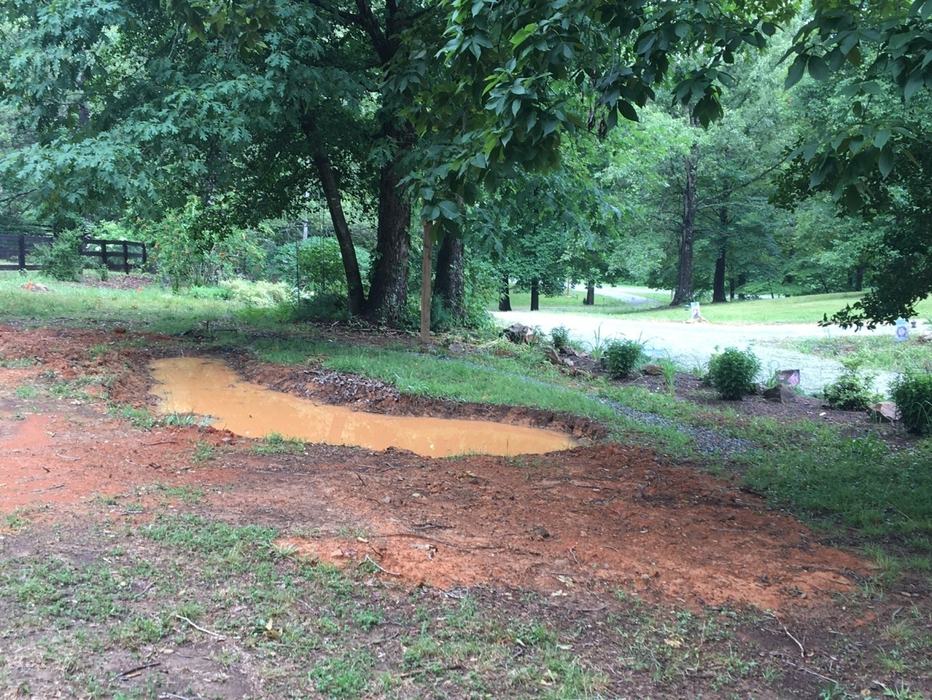
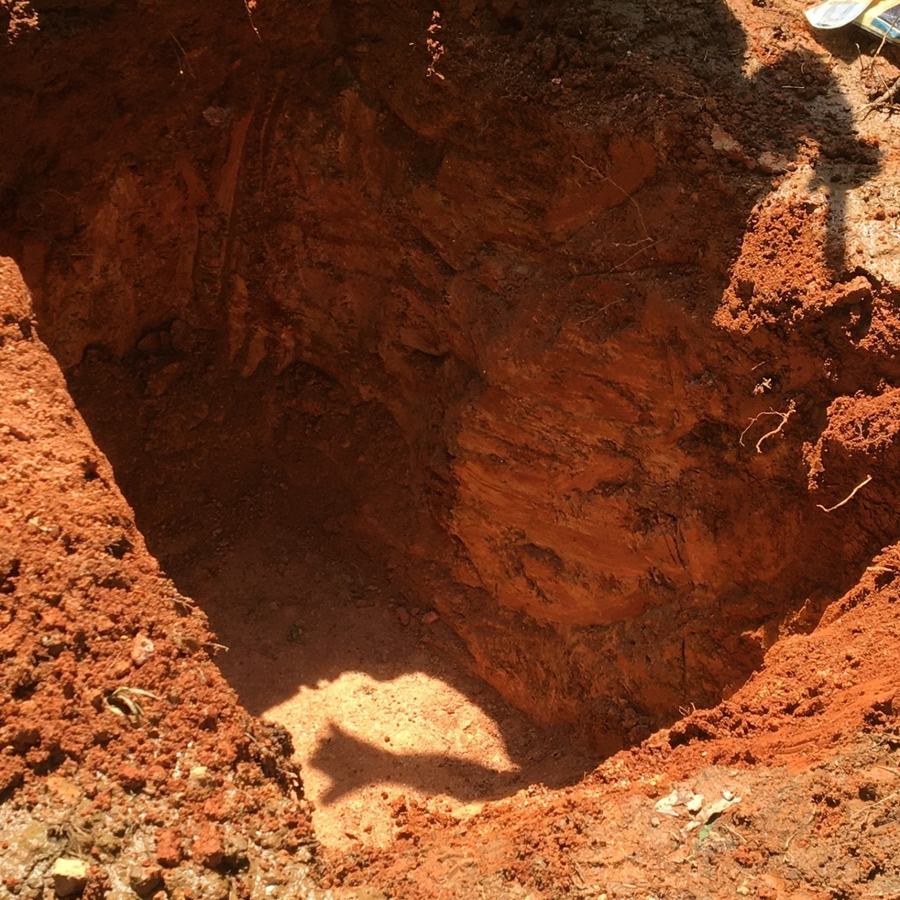
We then decided that a stop-gap pond at the crest of the hill would be necessary (always call 811 before digging to locate underground utilities!). Our first attempt was a depression about 18 to 24 inches deep and 5 feet wide by 14 feet long. It held water for over four days and was ultimately ineffective. The heavy clay soil prevented drainage, causing overflow during repeated rains.
Finally, we arrived at the solution we had expected from the beginning: a detention pond, not to be confused with a retention pond.
Retention ponds are designed to hold water permanently and often include aquatic plants that act as filters. You’ll commonly see them near highway exits, apartment complexes, or shopping centers to manage runoff from nonporous surfaces. They may be lined with concrete and require regular maintenance. If not properly managed, they can become mosquito breeding grounds. The plantings can be weedy and difficult to maintain. In short, retention ponds are more work than we wanted to take on.
Detention ponds, on the other hand, are designed to hold water only temporarily and then slowly drain it away underground. They are intended to be dry most of the time. While plants can be added around the perimeter, none are planted inside. These ponds are typically lined with gravel or stone and connected to a drainage system known as a dry well. Provided the drain doesn’t clog, no maintenance is necessary. This made the decision easy.
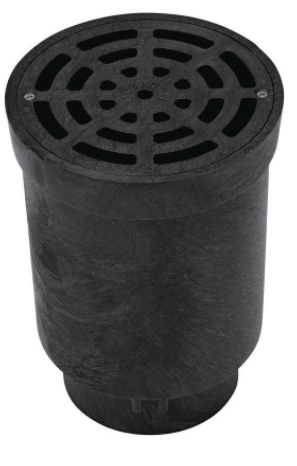
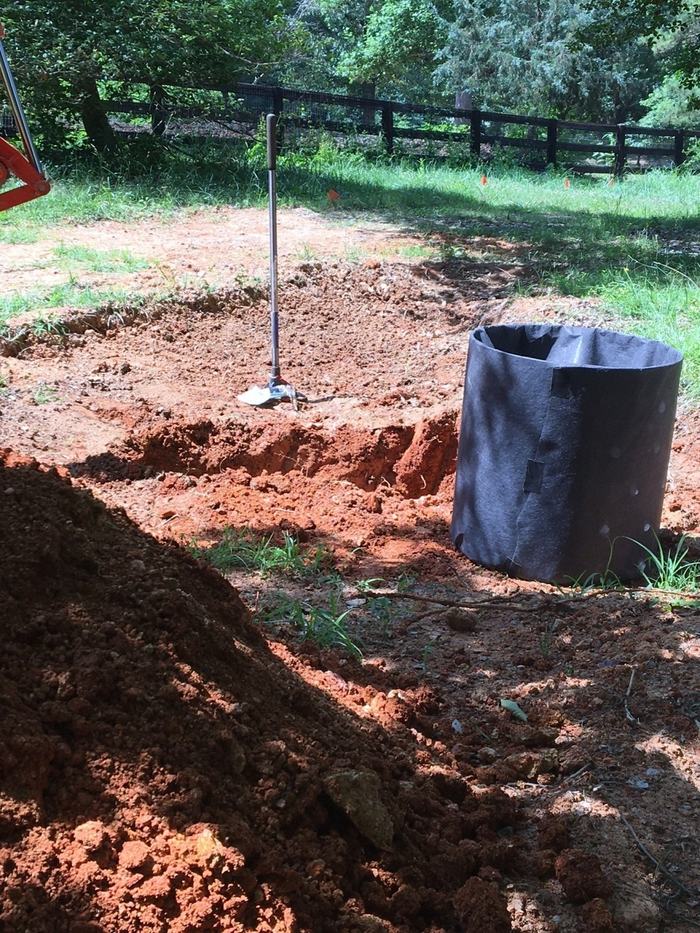
So began our detention pond adventure! The components of the dry well were surprisingly easy to find. Ours came from eBay, but local plumbing or landscape suppliers also carry them. Our system consisted of a 24-by-28-inch dry well, a drainpipe, and a drain cover.
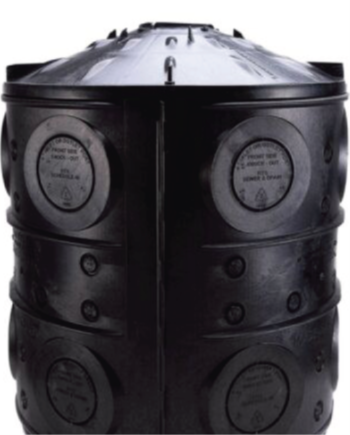
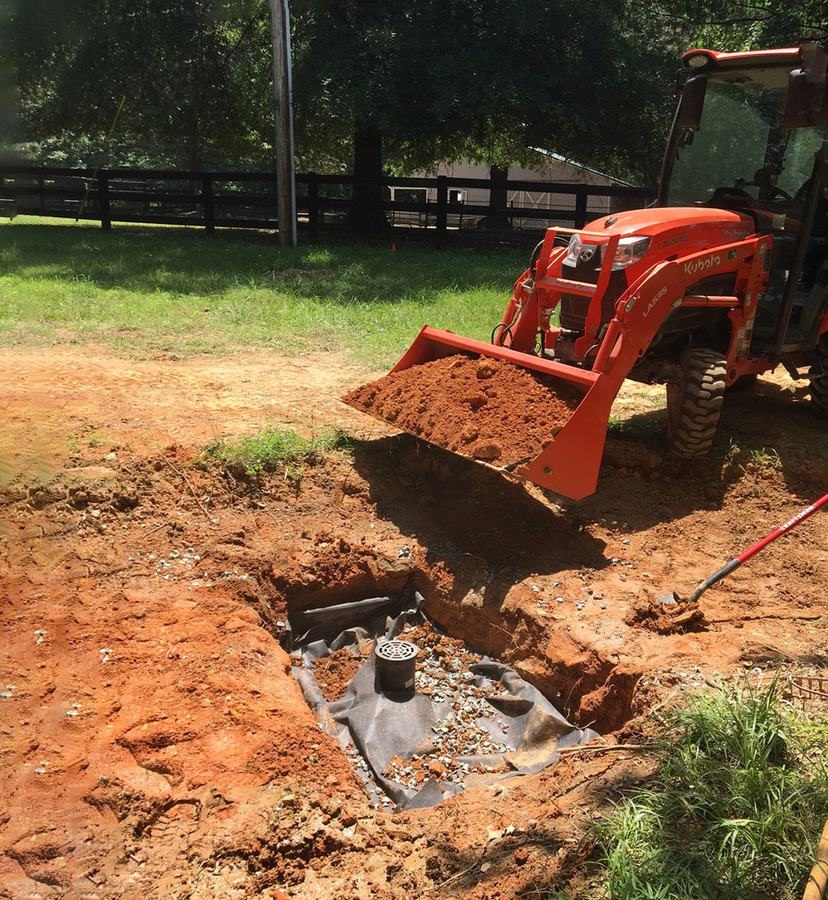
We brought back the Bobcat and dug a hole 4 feet deep by 4 feet wide to house the well. It was wrapped in garden fabric to keep out dirt and gravel, then surrounded by gravel.
The cover and drain were installed, another layer of fabric was added, and more gravel and soil were placed over the top. It was critical to ensure the drain was clear and located at the pond’s lowest point.

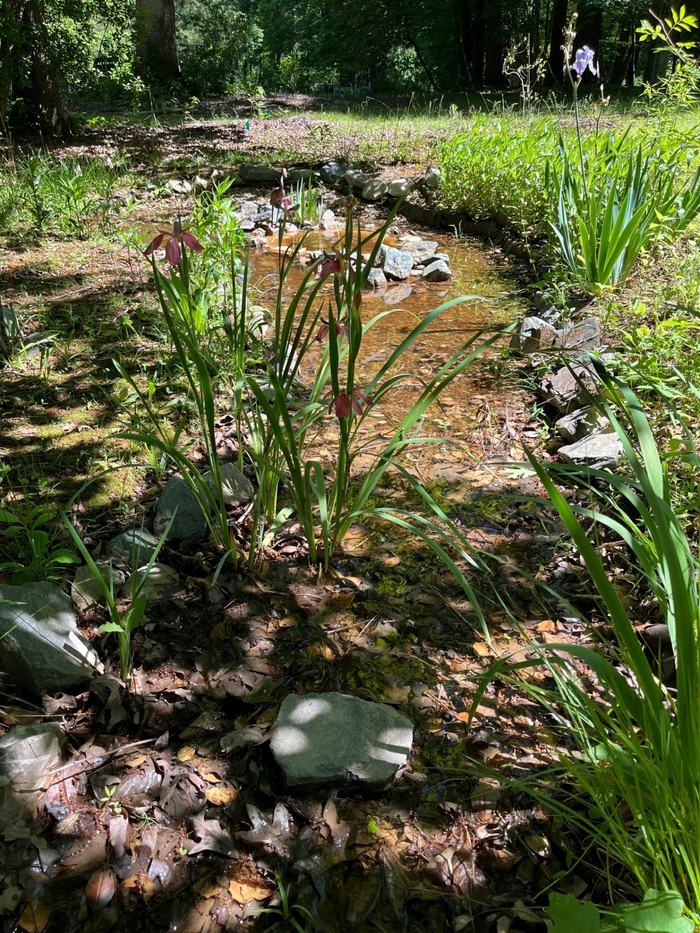
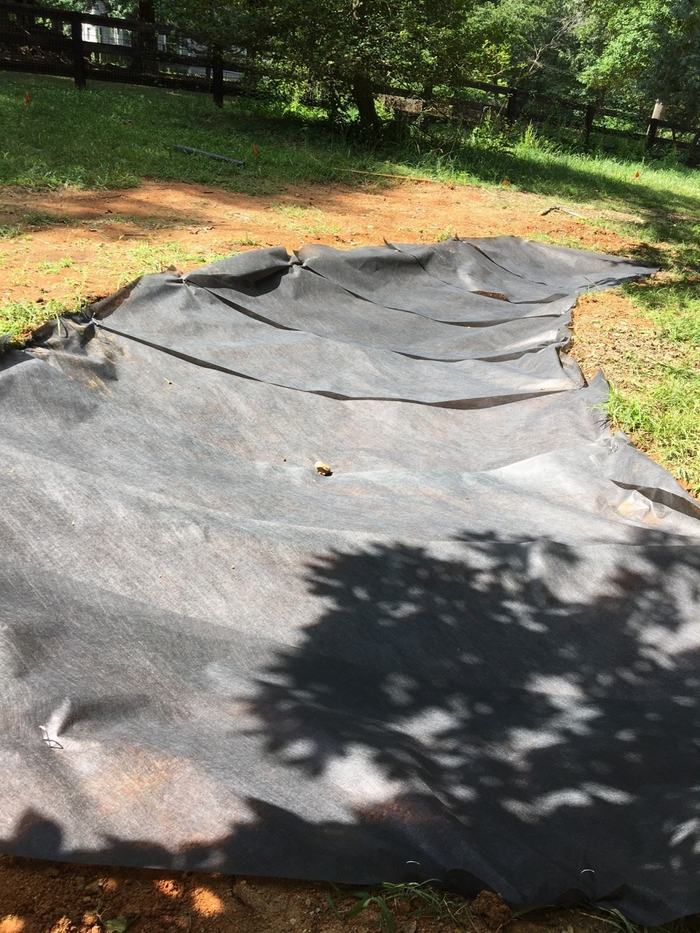
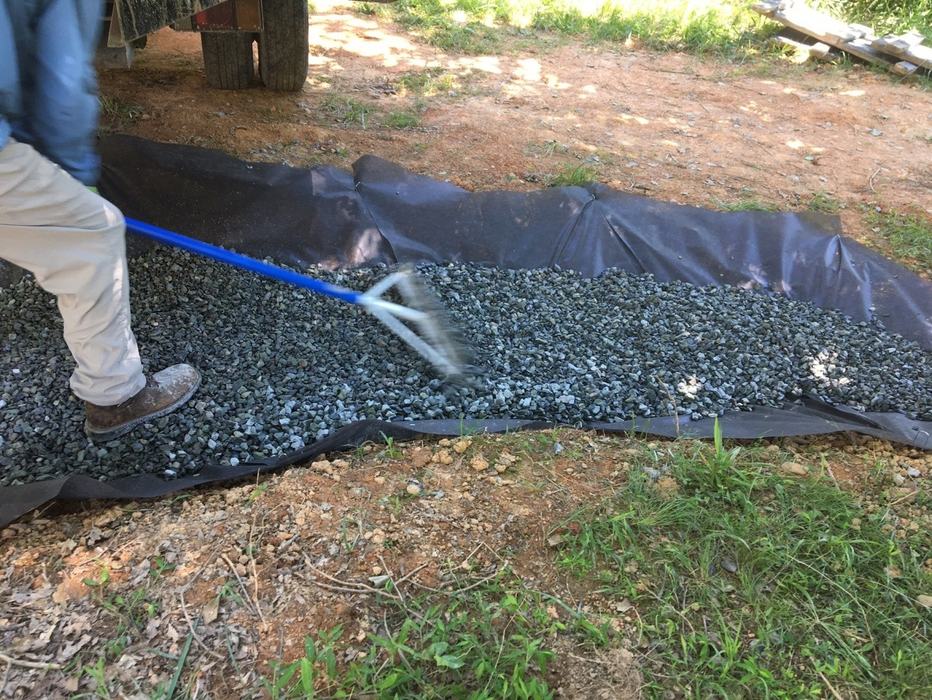
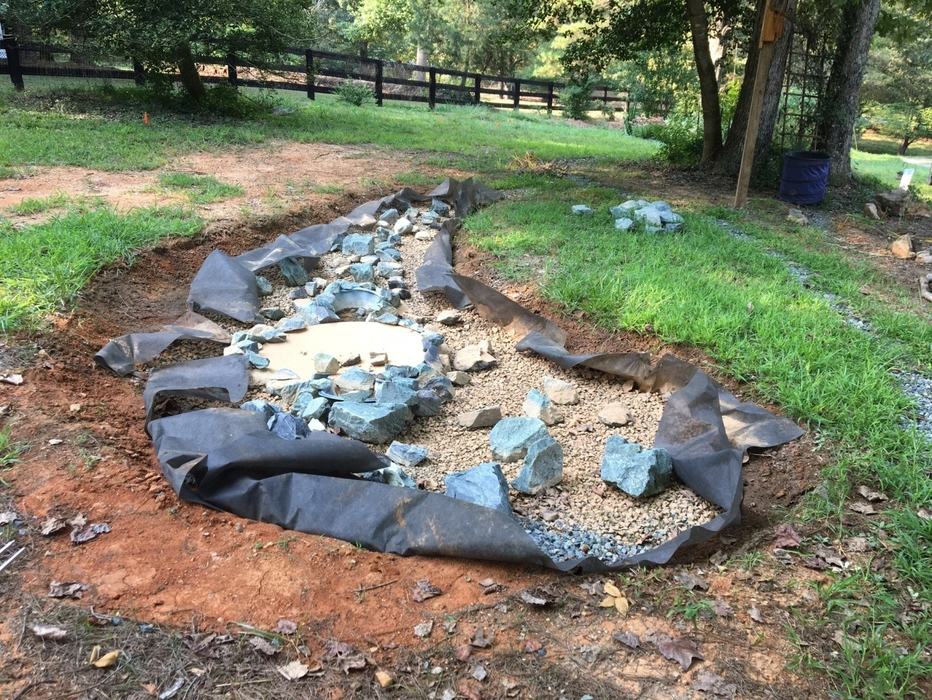
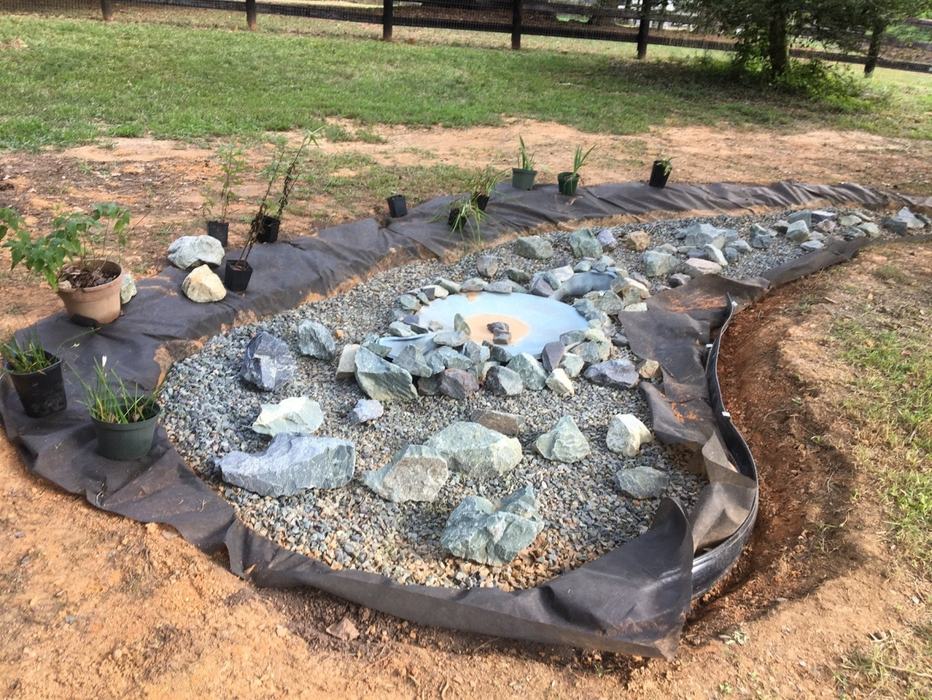
Finally, we worked on the fun part: creating the visual pond effect. We laid heavy-duty fabric and brought in crush-and-run gravel, spreading it across the bottom. Large decorative stones were carefully chosen and placed. We added improved soil around the pond, installed edging, repositioned the fabric, and added the finishing touch—plants. These included water iris, Louisiana iris, swamp sunflowers, crinum, rain lilies, violets, salvia, and elderberry.
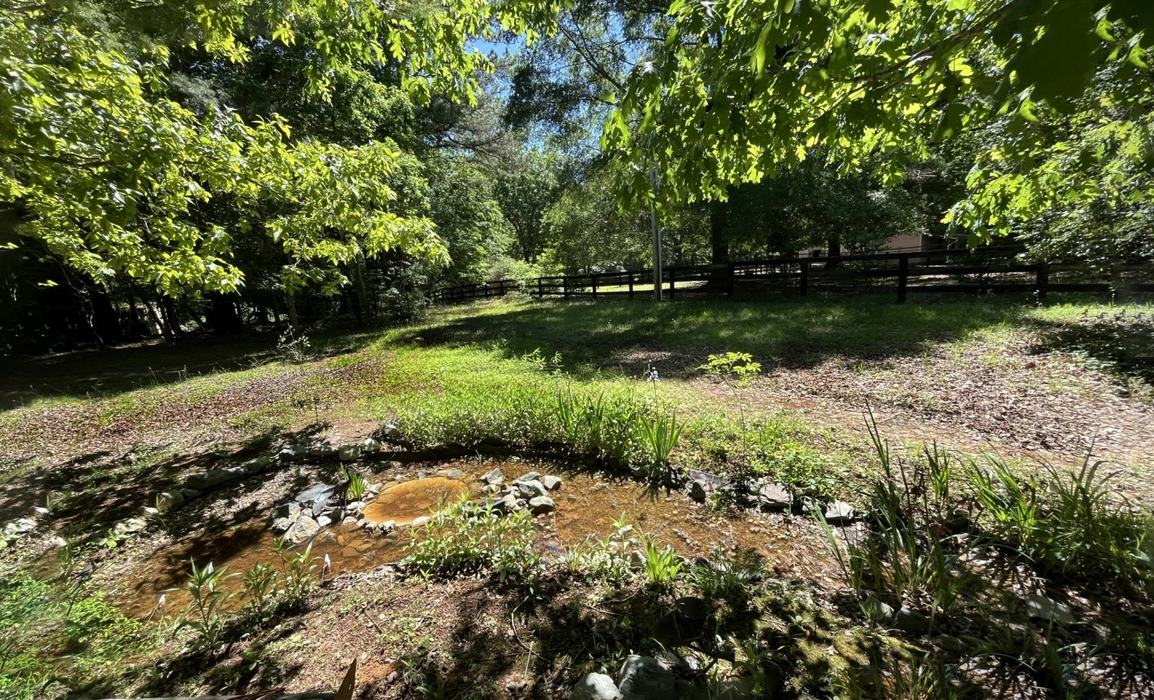
The end result is a beautiful garden feature that resembles a pond or a dry riverbed depending on the weather, but always provides beauty and keeps water out of the house!