Sharpening Your Shears
go.ncsu.edu/readext?666213
en Español / em Português
El inglés es el idioma de control de esta página. En la medida en que haya algún conflicto entre la traducción al inglés y la traducción, el inglés prevalece.
Al hacer clic en el enlace de traducción se activa un servicio de traducción gratuito para convertir la página al español. Al igual que con cualquier traducción por Internet, la conversión no es sensible al contexto y puede que no traduzca el texto en su significado original. NC State Extension no garantiza la exactitud del texto traducido. Por favor, tenga en cuenta que algunas aplicaciones y/o servicios pueden no funcionar como se espera cuando se traducen.
Português
Inglês é o idioma de controle desta página. Na medida que haja algum conflito entre o texto original em Inglês e a tradução, o Inglês prevalece.
Ao clicar no link de tradução, um serviço gratuito de tradução será ativado para converter a página para o Português. Como em qualquer tradução pela internet, a conversão não é sensivel ao contexto e pode não ocorrer a tradução para o significado orginal. O serviço de Extensão da Carolina do Norte (NC State Extension) não garante a exatidão do texto traduzido. Por favor, observe que algumas funções ou serviços podem não funcionar como esperado após a tradução.
English
English is the controlling language of this page. To the extent there is any conflict between the English text and the translation, English controls.
Clicking on the translation link activates a free translation service to convert the page to Spanish. As with any Internet translation, the conversion is not context-sensitive and may not translate the text to its original meaning. NC State Extension does not guarantee the accuracy of the translated text. Please note that some applications and/or services may not function as expected when translated.
Collapse ▲By Rob Bergmueller
Master Gardener℠ volunteer in Chatham County
With the weather warming, gardeners are getting more and more eager to get outside and begin gardening and winter clean up. Many of us put our tools away in the fall and haven’t thought about what their current conditions are until we pick them up and expect them to help us tackle an important job!
Let’s first look at your clippers and loppers. Are the blades on these tools clean, and well lubricated? If they are not clean you can clean the grime and dried plant residue using a little penetrating oil and a rag to assist removing the grime. From here you can continue the cleaning process using steel wool or a Scotch-Brite™ cleaning pad to clean the blades even more. Remember that when blades are clean they will cut through plant material even more effortlessly.
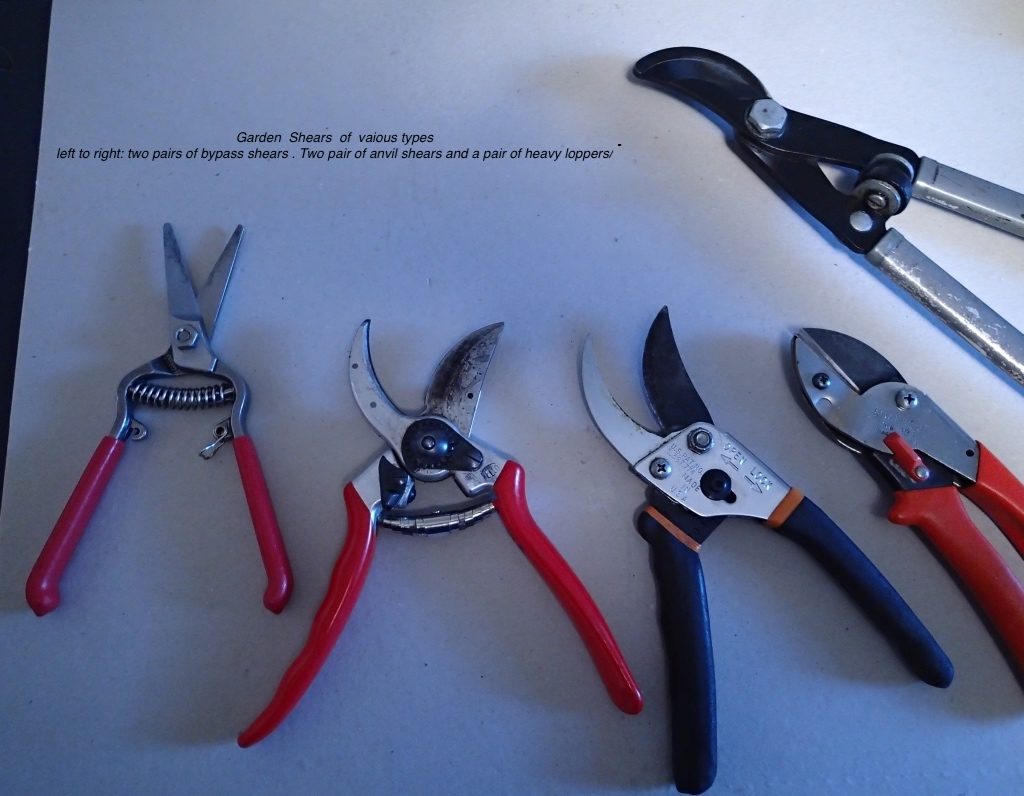
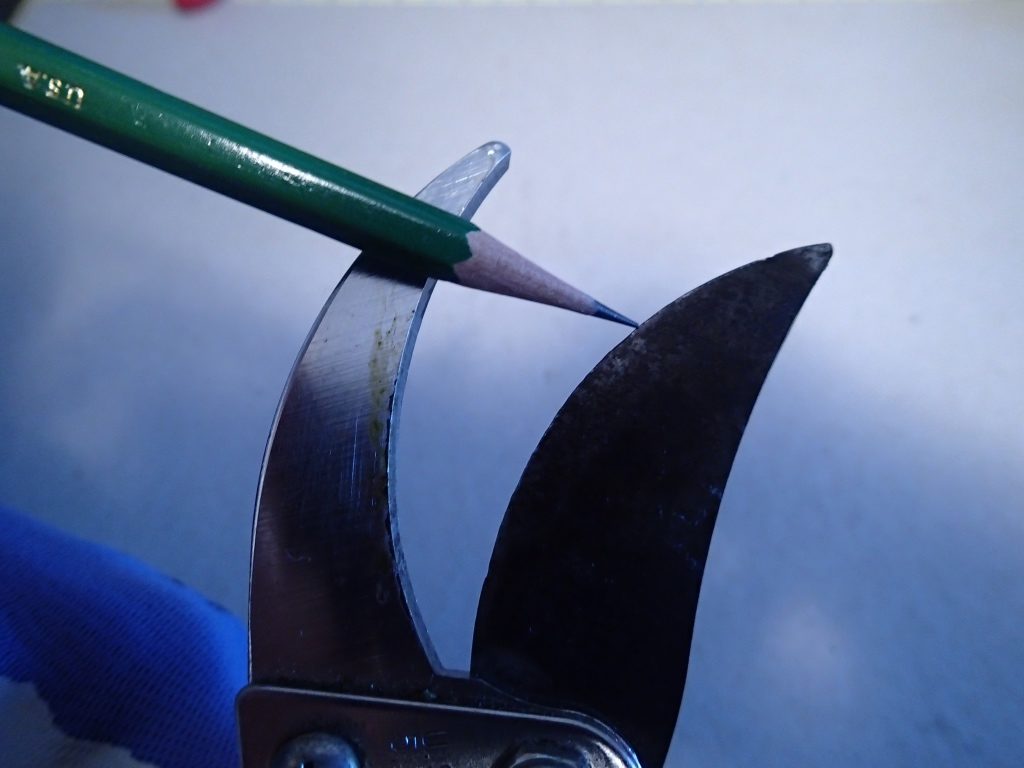
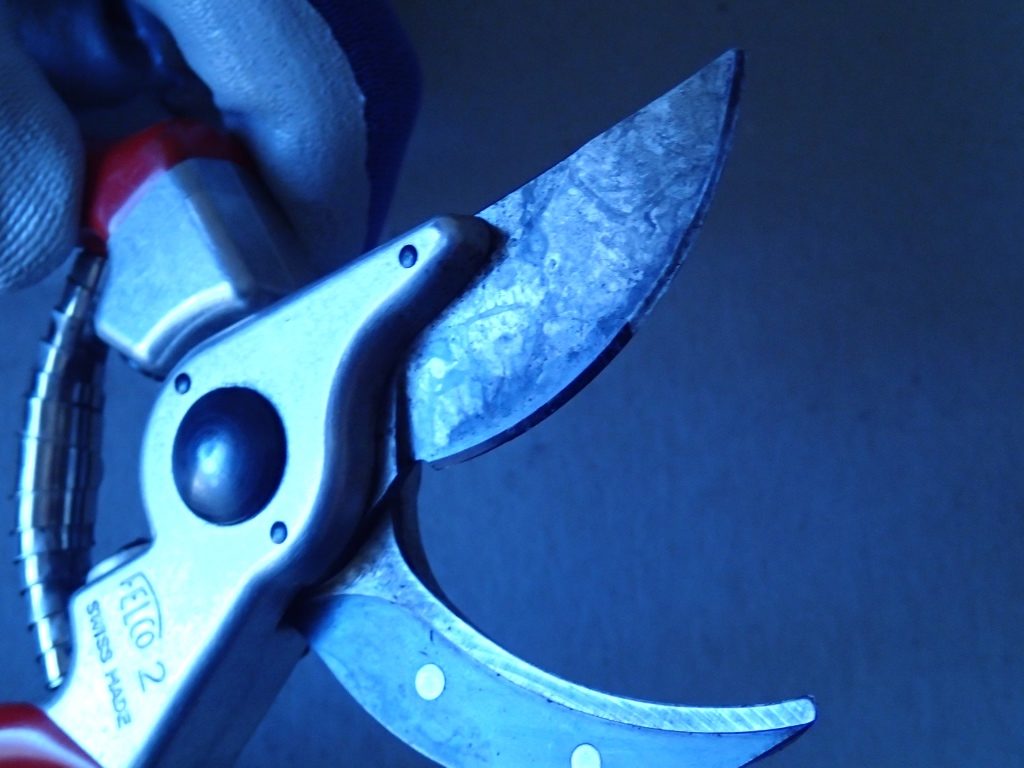
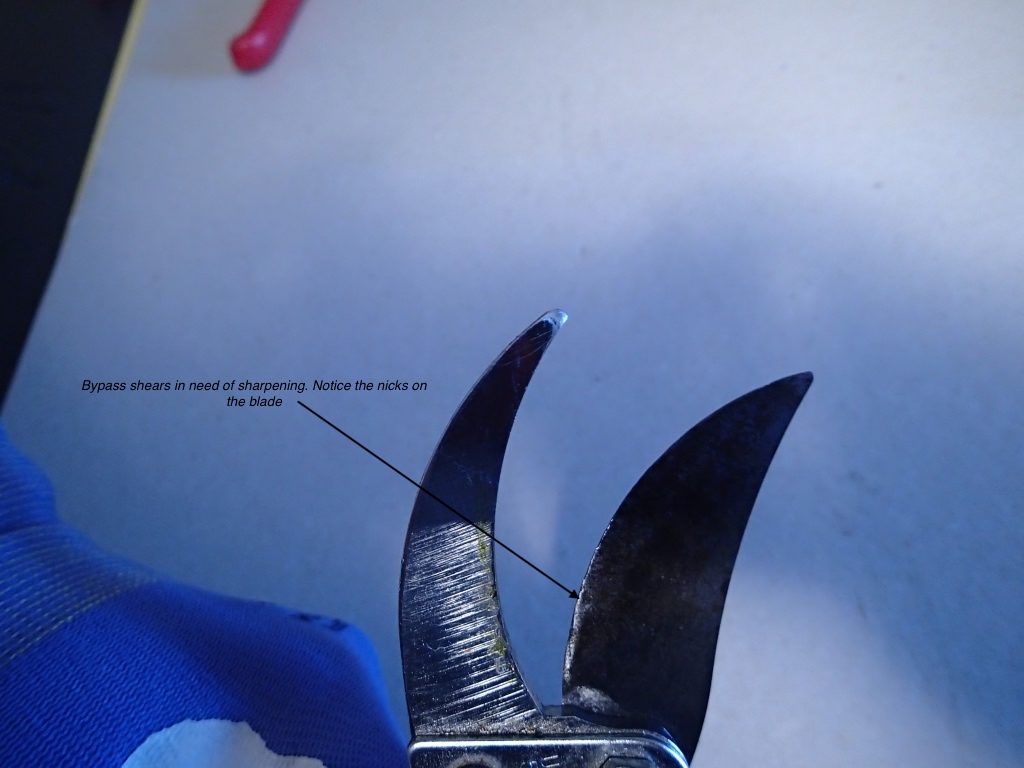
Now we need to look at the blades themselves. If you have anvil type shears only one blade gets sharpened as it pushes down on the second blade and cuts through the vegetation. Bypass shears work like a pair of tailors shears where both blades are sharpened. To sharpen the blades on either the anvil shears or bypass clippers actually require the same procedures. Look at the edges of the cutting blades and by holding the edges to light, if you see any nicks in the blade they will be shiny and easily seen.

Left to right: two pairs of bypass shears, two pairs of anvil shears, and a pair of heavy loppers. Photo by Robert Bergmueller
Your objective is to now rid the blades of any nicks and sharpen the blades at the same time. It is here where you need patience and avoid power tools. Bench grinders, handheld grinders, and electric hobby tools are no place for precise sharpening. As a matter of fact, with power tools, you can make things much worse. Grinders can overheat the steel and the blades will become soft. You’ve really damaged the steel when the steel turns blue.
The best way to sharpen the blades is to use a sharpening stone. Stones cut slowly and leave you in control. You need to sharpen the beveled edge. To make sure that you are maintaining the proper angle on the blade, you can use a black or dark blue marking pen and cover the cutting surface with the ink.
Now take your sharpening stone and slowly move the stone up and down the blade. With a little practice, you’ll see where you are holding the stone correctly because the ink has been removed, where the ink remains indicates that you have not held the stone consistently at the same angle. You can then coat the blade again or if you feel confident, continue rubbing the stone at the same angle. Machinists will use this same procedure using layout dye to ensure that metals are ground to a correct angle.
When you are satisfied with the job you’ve done, run your fingernail across the blade and you may feel a wire edge. Take the stone and run it down the back of the blade to remove the burr. You can now follow up with a finer stone back on the cutting edge to get the blade sharper. If you don’t have an assortment of stones, get some emery paper at the hardware store. Start with about a 400 grit paper and finish with about 1200 grit. Place the emery paper on a stick to keep the paper flat and rub the paper down the length of the blade. Something like a clean paint stirrer will provide the abrasive with some good support.
Finish the job by wiping the blades with a light oil and lubricate the screw joint as well. Tighten the screw if necessary so they move freely but don’t bind. Step away from the pliers Use wrenches so that you don’t burr up the screws and your tools will appear to have been professionally maintained.
Continue reading for more information on pruning trees and shrubs.


